Submit my first claim
Goal: Create a claim directly from your expense and submit it for approval
Time: 1-2 minutes
You'll need: The expense receipt you uploaded and validated
Outcome: A claim submitted for approval
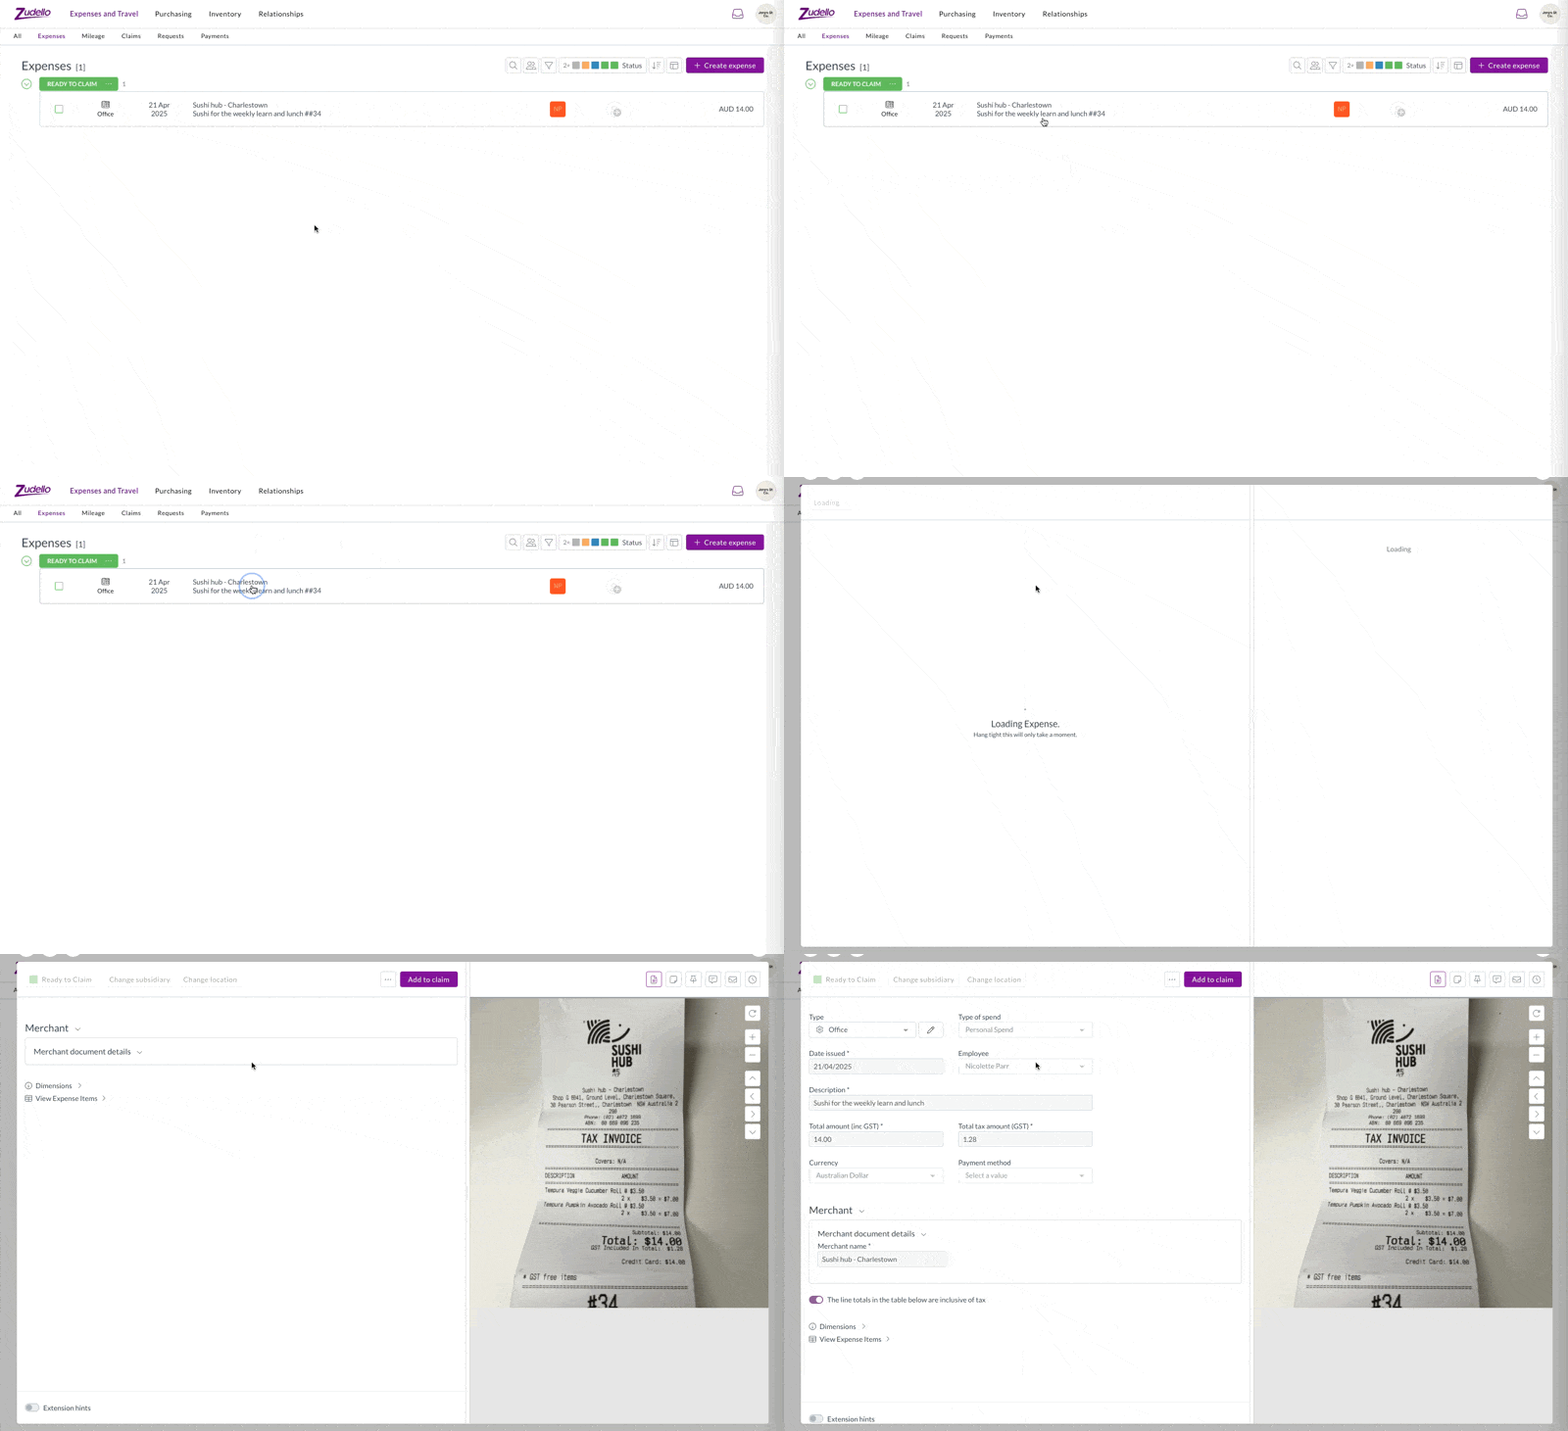
Step 1: Open your expense
- Find your validated expense in Ready to Claim status
- Click on the expense to open it
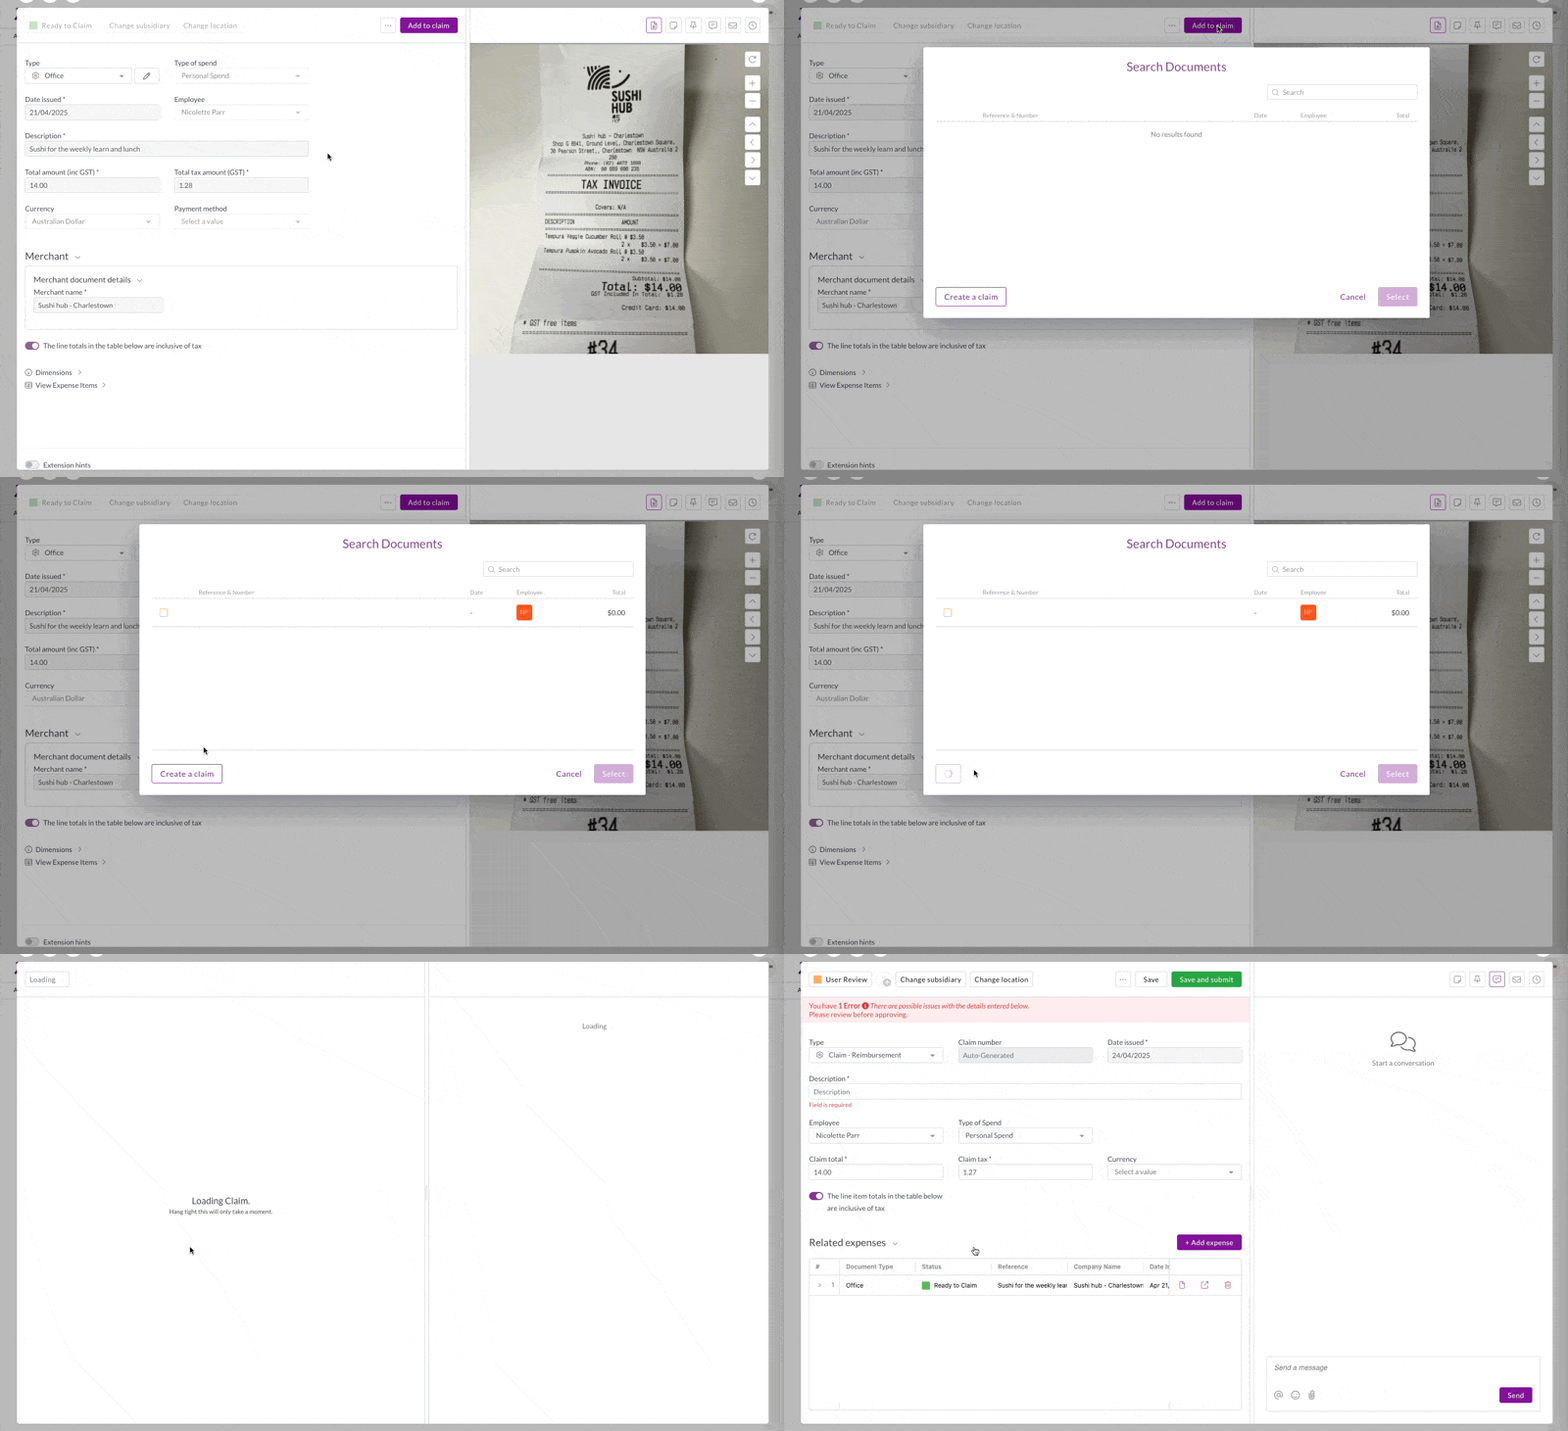
Step 2: Create a claim
- Click Add to Claim
- Click Create a claim
- A new claim will be created with your expense linked to it
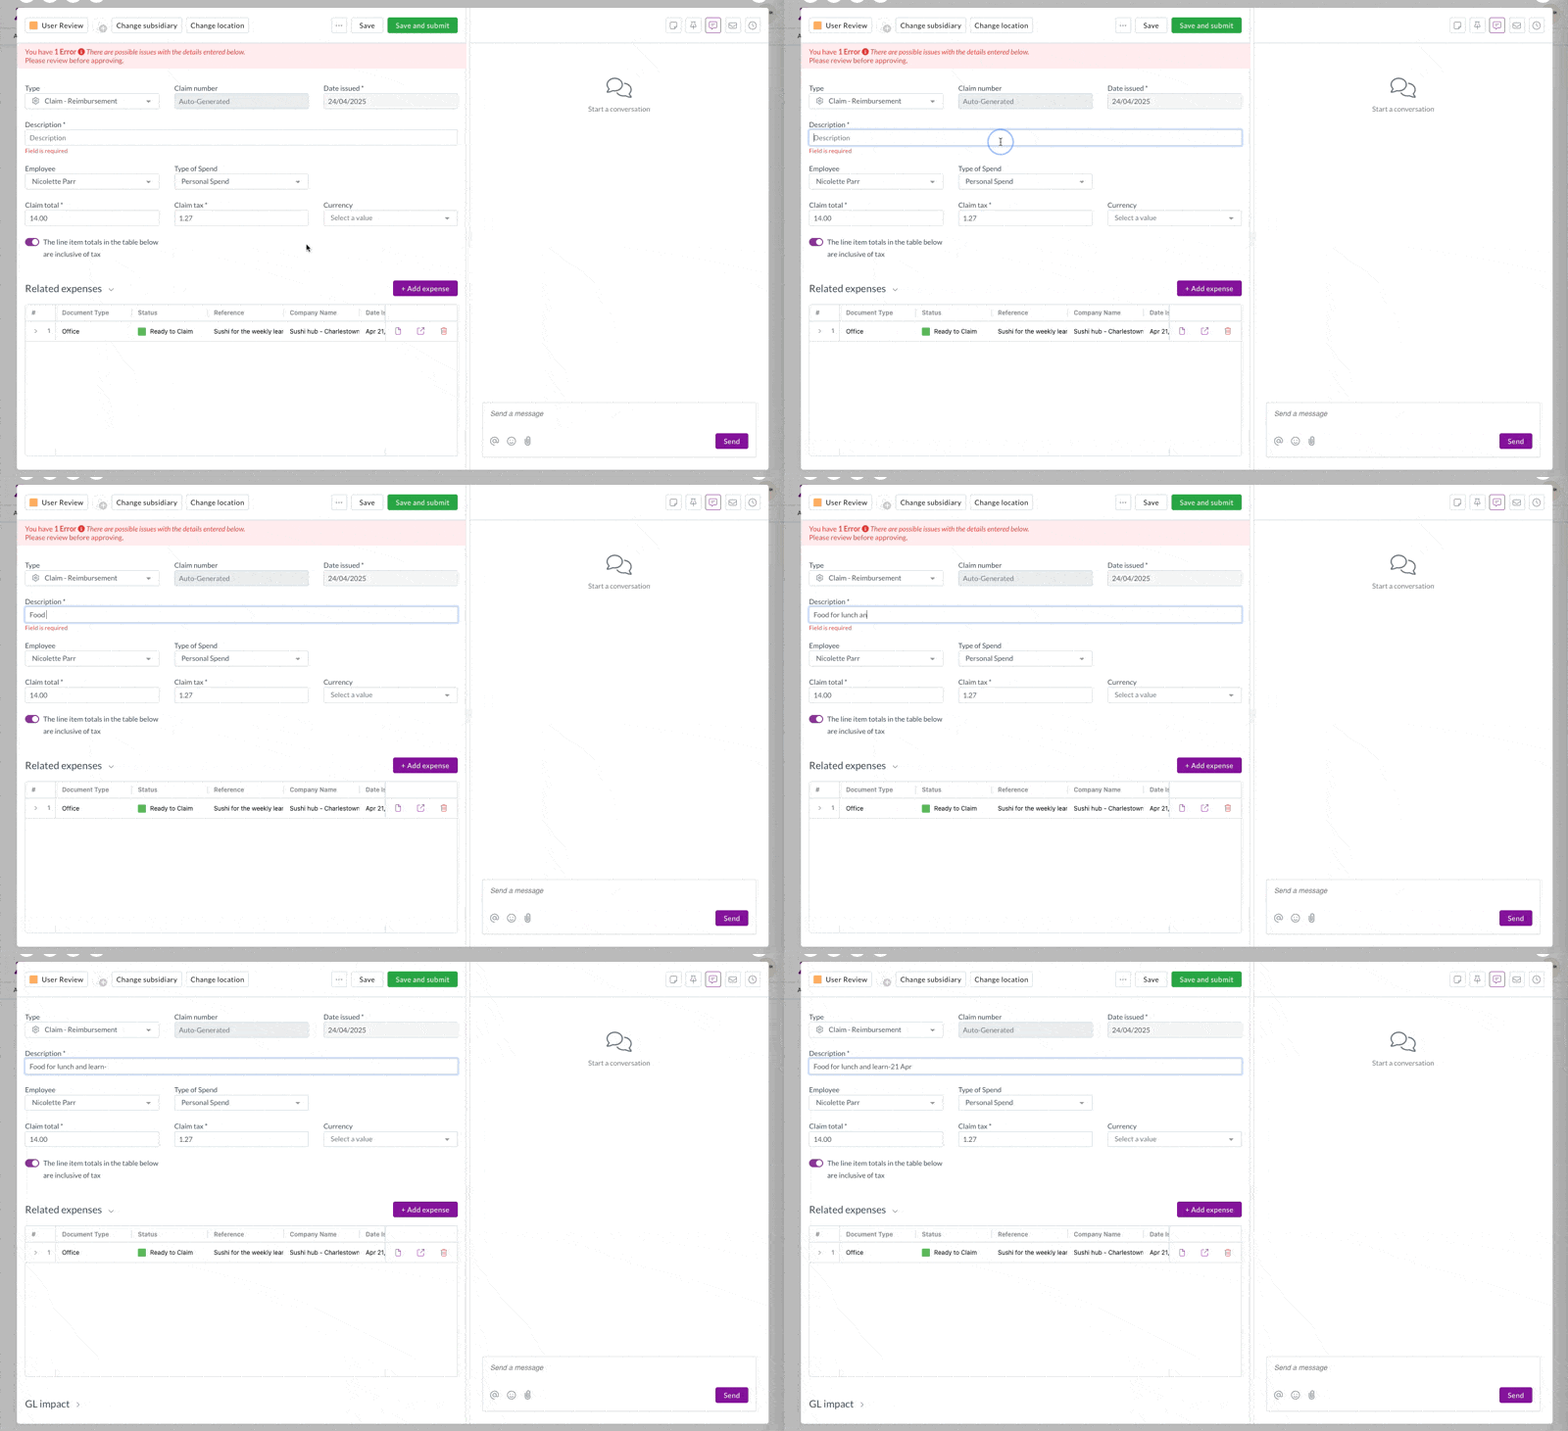
Step 3: Add a description
- Enter a clear description for your claim
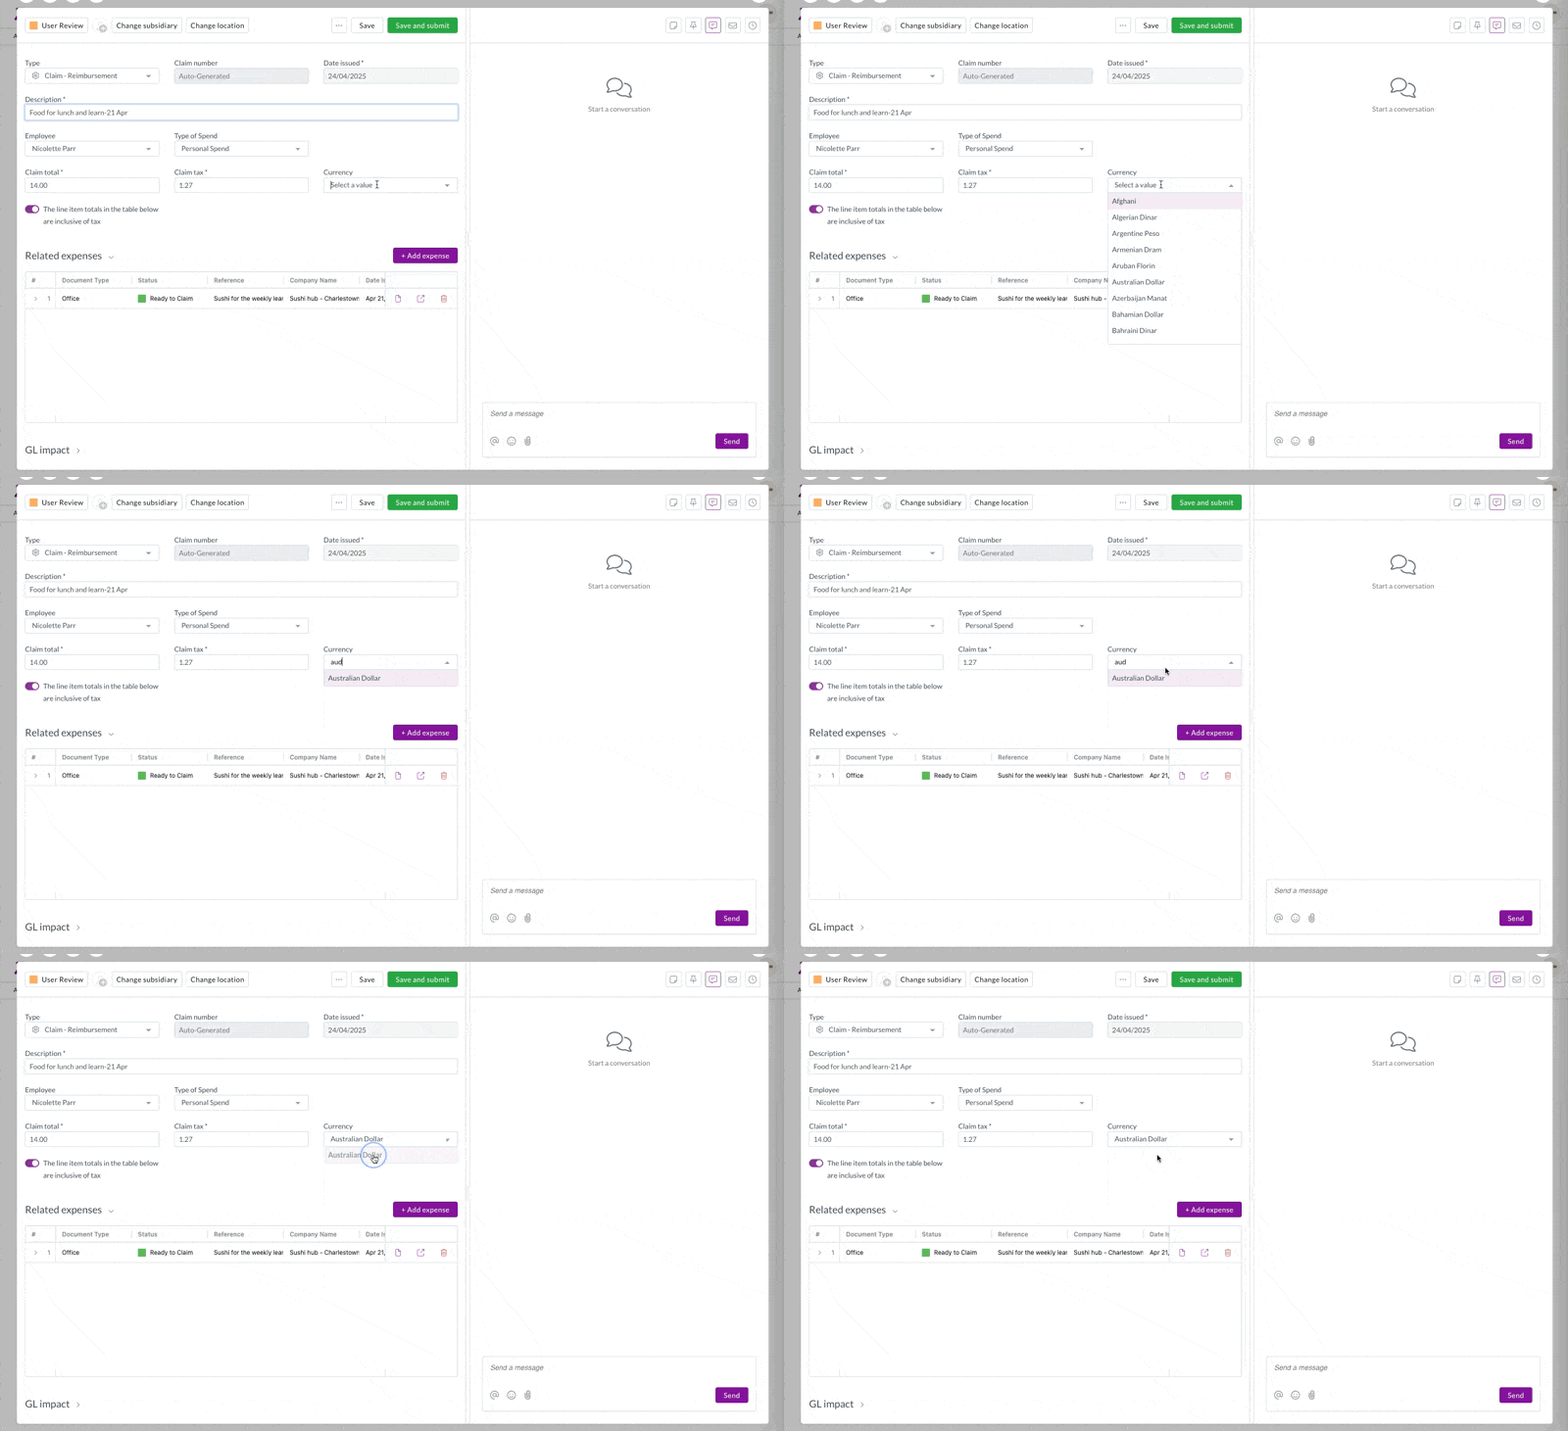
Step 4: Complete remaining fields
- Verify your name is selected in the Employee field
- Complete any remaining required fields
Step 5: Submit the claim
- Review all the claim for accuracy
- Click Save and Submit
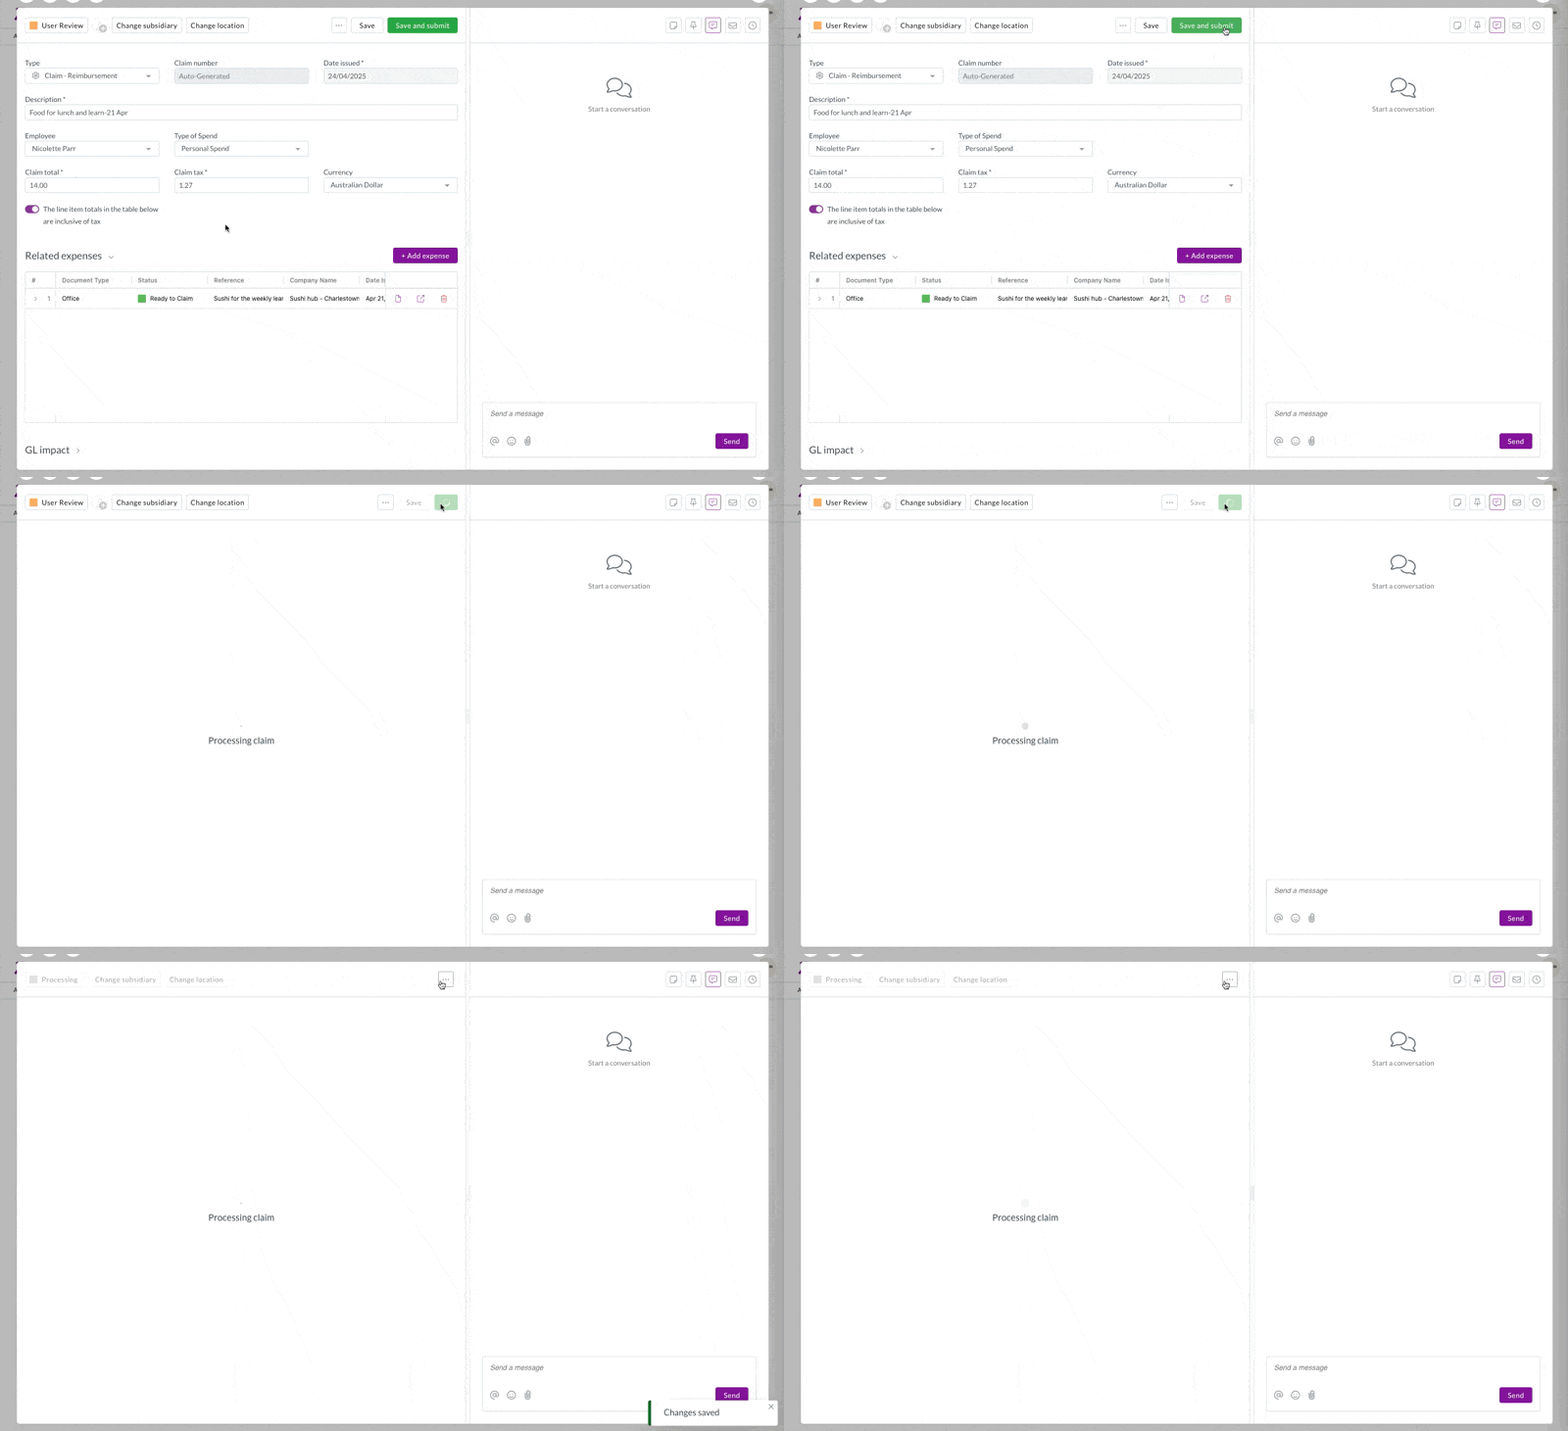
All done!
You've submitted your first expense claim - look at you go!
Your claim has been submitted for approval and will follow your organization's approval workflow. Once approved, you'll receive reimbursement according to your company's payment schedule.
Tips and tricks
- You can add multiple expenses to the same claim before submitting
- Creating claims directly from expenses saves time and ensures the expense is linked correctly
- Make sure to enter a clear description that explains the business purpose
- The claim total should match the sum of all linked expenses