Step 3: Create or Select Claim
Group your validated expense(s) into a claim for submission.
Steps:
- Open Validated Expense: Ensure the expense you just coded and validated (status Ready to Claim) is open.
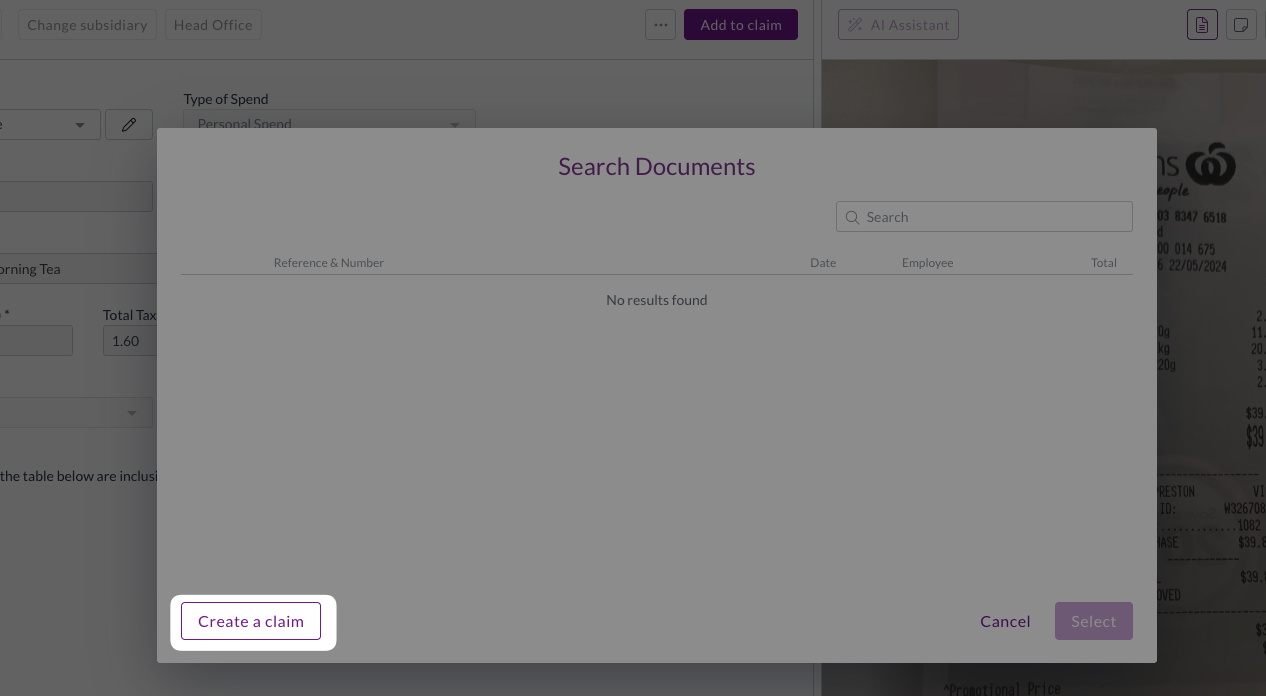
- Add to Claim: Click/Tap the Add to Claim button.
- Choose Option:
- Create a claim: Select this option if this is the first expense for a new claim (e.g., for a specific trip or period).
- Select an existing claim: If you already started a claim (in Draft status) that this expense belongs to, select it from the list.
- If Creating New Claim:
- A new claim document opens with your expense automatically added.
- Fill in the required claim header details:
- Employee: Ensure your name is selected.
- Description: Enter a clear name for the claim (e.g., "Sydney Conference Travel - July").
- Complete any other required fields.
What Happens Next?
The expense is now part of a claim document (either new or existing) which is in Draft status.
Next Step: Submit Claim for Approval
Related How-To Guides: