Creating and editing workflows
This guide walks you through creating a new Document Studio workflow from scratch, and editing an existing one. Before you start, make sure you've read Understanding workflows and Understanding prompts.
Save your work regularly throughout this process. Document Studio can require a lot of testing and iteration. Saving frequently protects you against losing your work due to unexpected interruptions.
Creating a new workflow
1. Add the workflow
- Click the company menu at the top right of your screen
- Click Settings
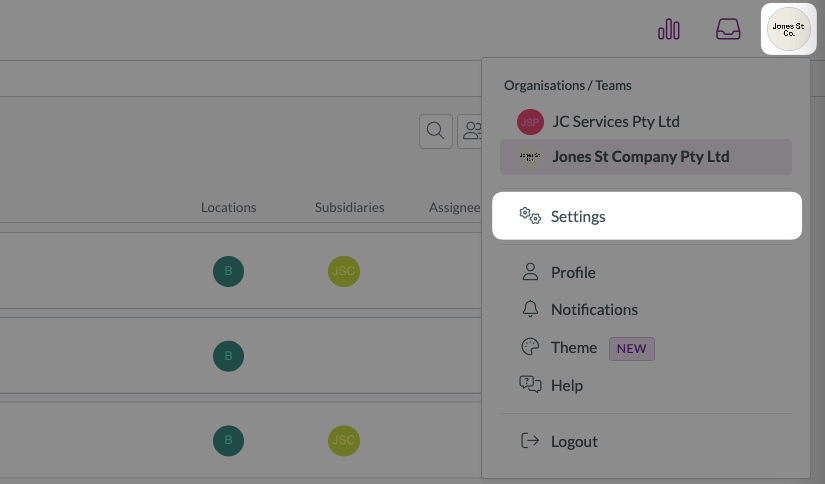
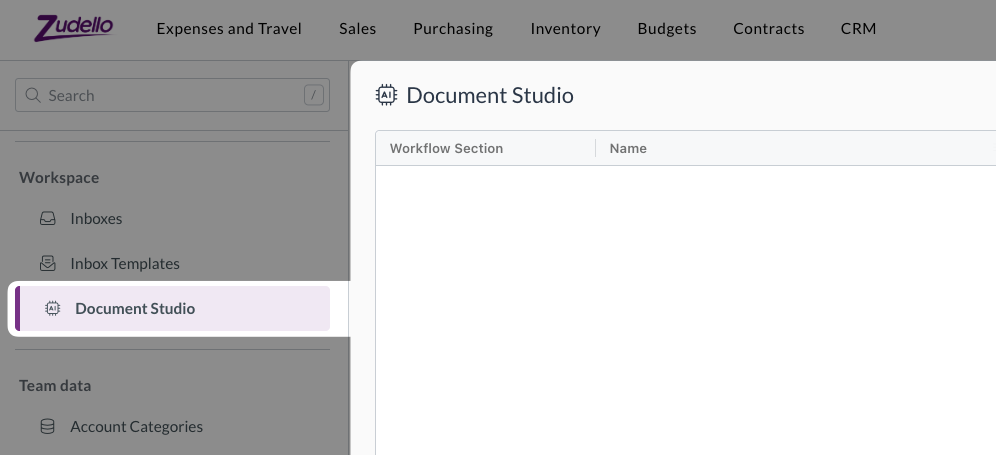
- In the left sidebar, scroll down (or search for) and click Document Studio
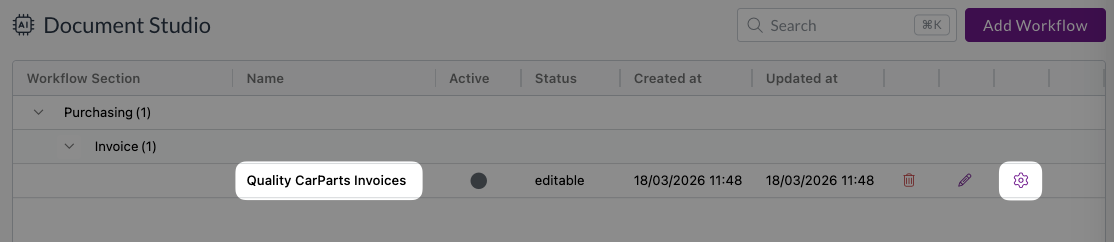
- In Document Studio, click Add workflow
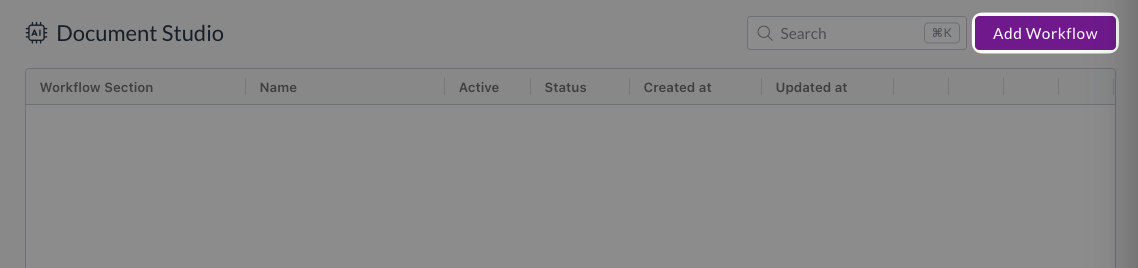
- Enter a descriptive name for the workflow
- Select the module
- Select the submodule
- Click Save

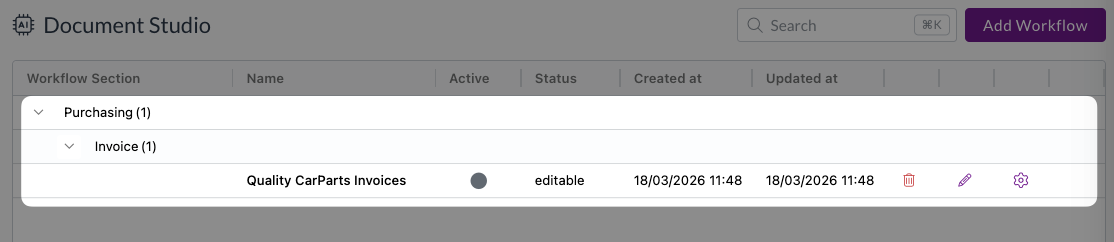
The new workflow will appear in the workflow list.
2. Upload test documents
Before editing any prompts, you need to upload one or more test documents:
- Click the settings icon next to it to open the workflow editor
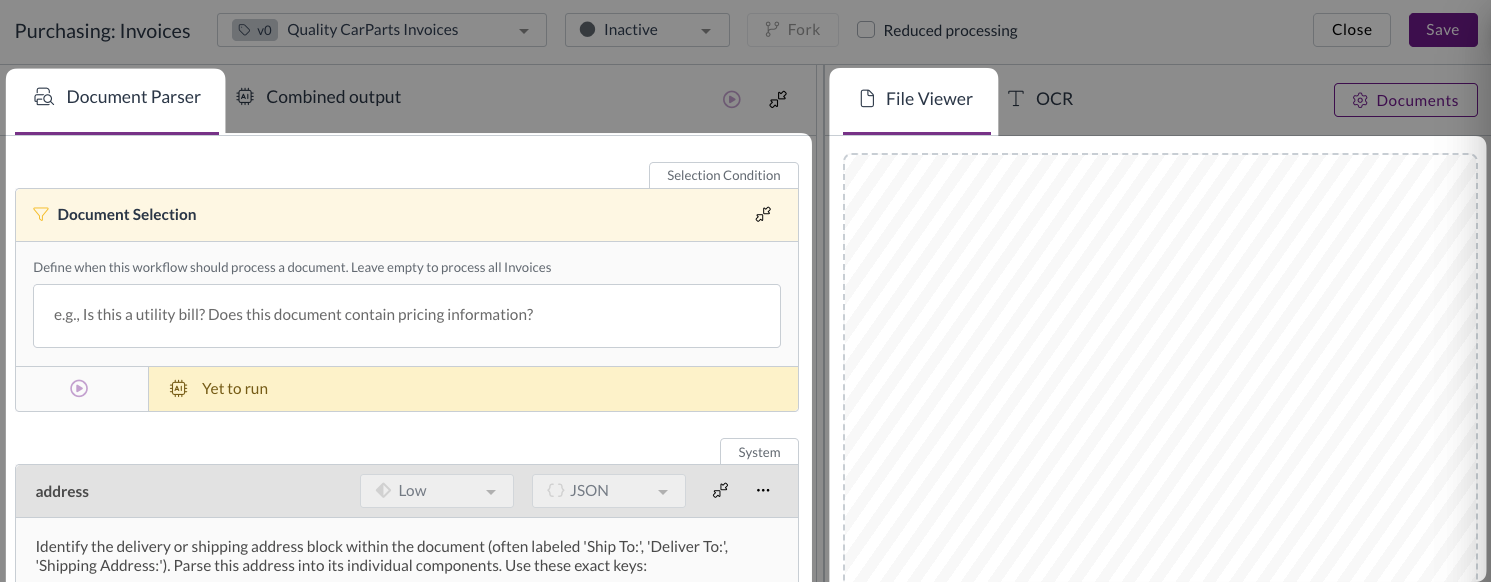
- The workflow editor will open, with the Document parser on the left and File viewer on the right
- To upload your test documents you can:
- Drag and drop files into the file viewer
- Click to browse your computer and select documents
- Drag and drop files into the file viewer
- Wait for the documents to finish loading
- Use the navigation at the top of the file viewer to move between uploaded documents

Choose documents that represent the full range of files that this workflow will process.
This lets you confirm that your changes work correctly across all relevant documents.
3. Set a document selection condition
If your workflow should run on all documents, leave this section blank.
Before setting a document selection condition, ensure that you have read Understanding workflows - Document selection condition. Then follow the steps below to set your condition:
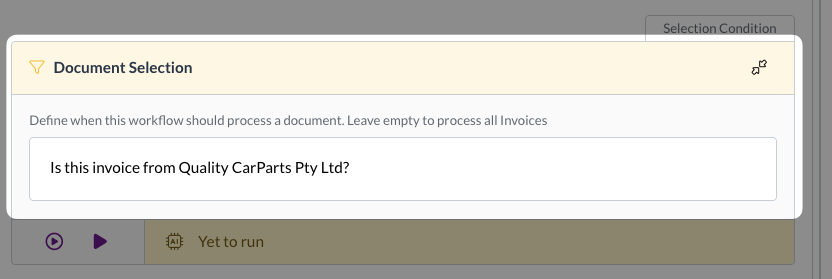
- Under Document Selection, enter the condition that will control when this workflow runs. Remember that this condition must always return either "Yes" or "No".
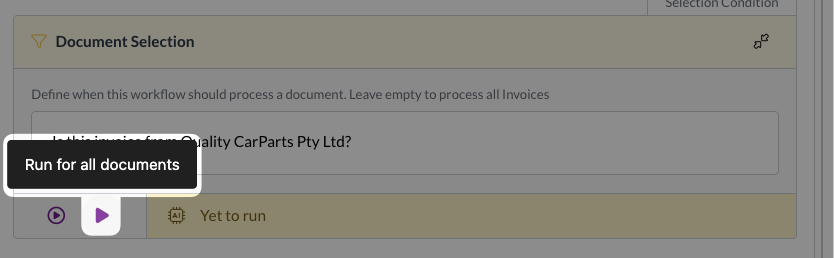
- Click Run for all documents (the larger of the two play buttons)
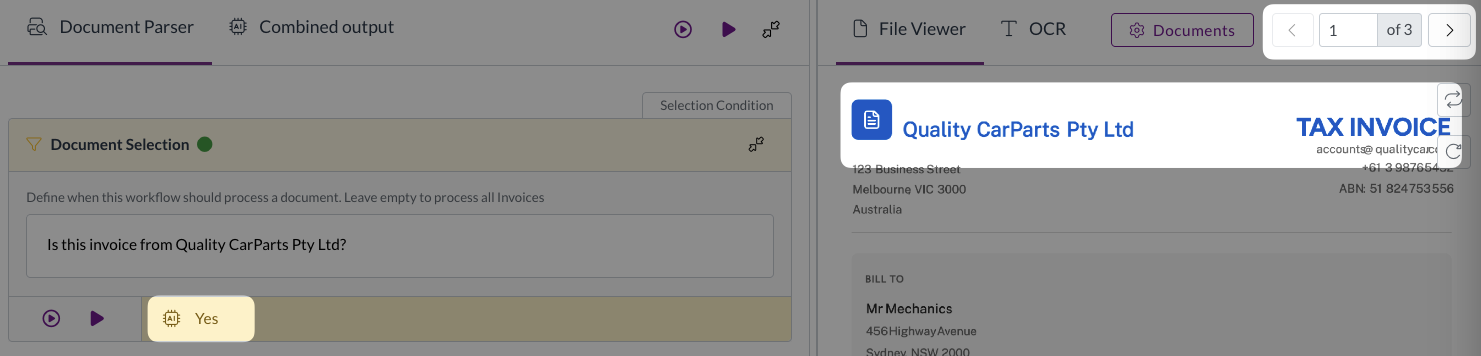
- Check the result is correct for all documents
Invoice is from Quality CarParts, returns Yes
Invoice is from a different supplier, returns No
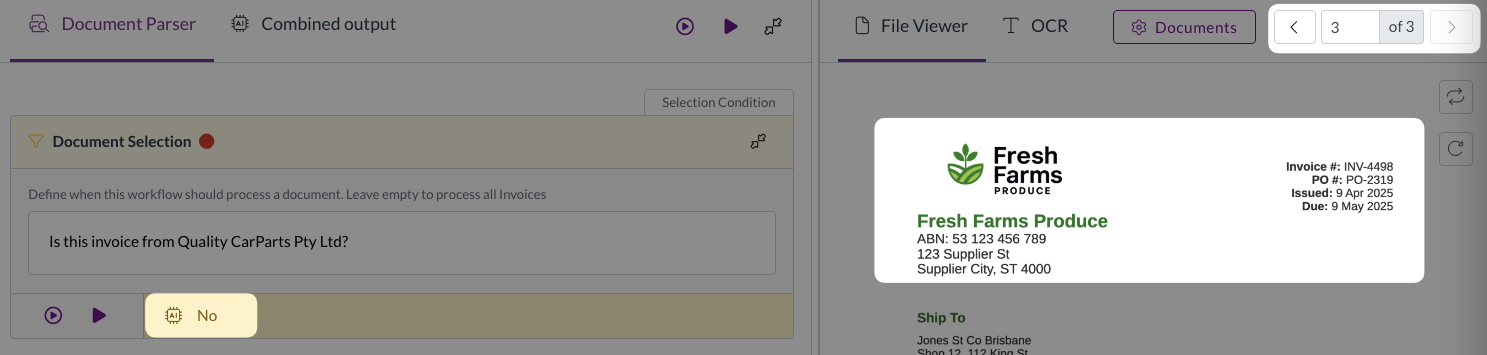
- If your testing is unsuccessful, adjust the prompt and continue testing until you get a successful result
4. Identify and read the existing prompt
Scroll through the document parser and identify the prompts you need to adjust. This will be dependent on the fields that you need to change the extraction of. Focus on those specific fields only, and leave everything else unchanged.
Line-level fields such as stock code, description, quantity, and unit price are grouped together in a single lines prompt. Look for this if you need to adjust how line items are extracted.
For this example we want to change the extraction of stock codes for a certain suppliers invoices, so we will locate the lines prompt.
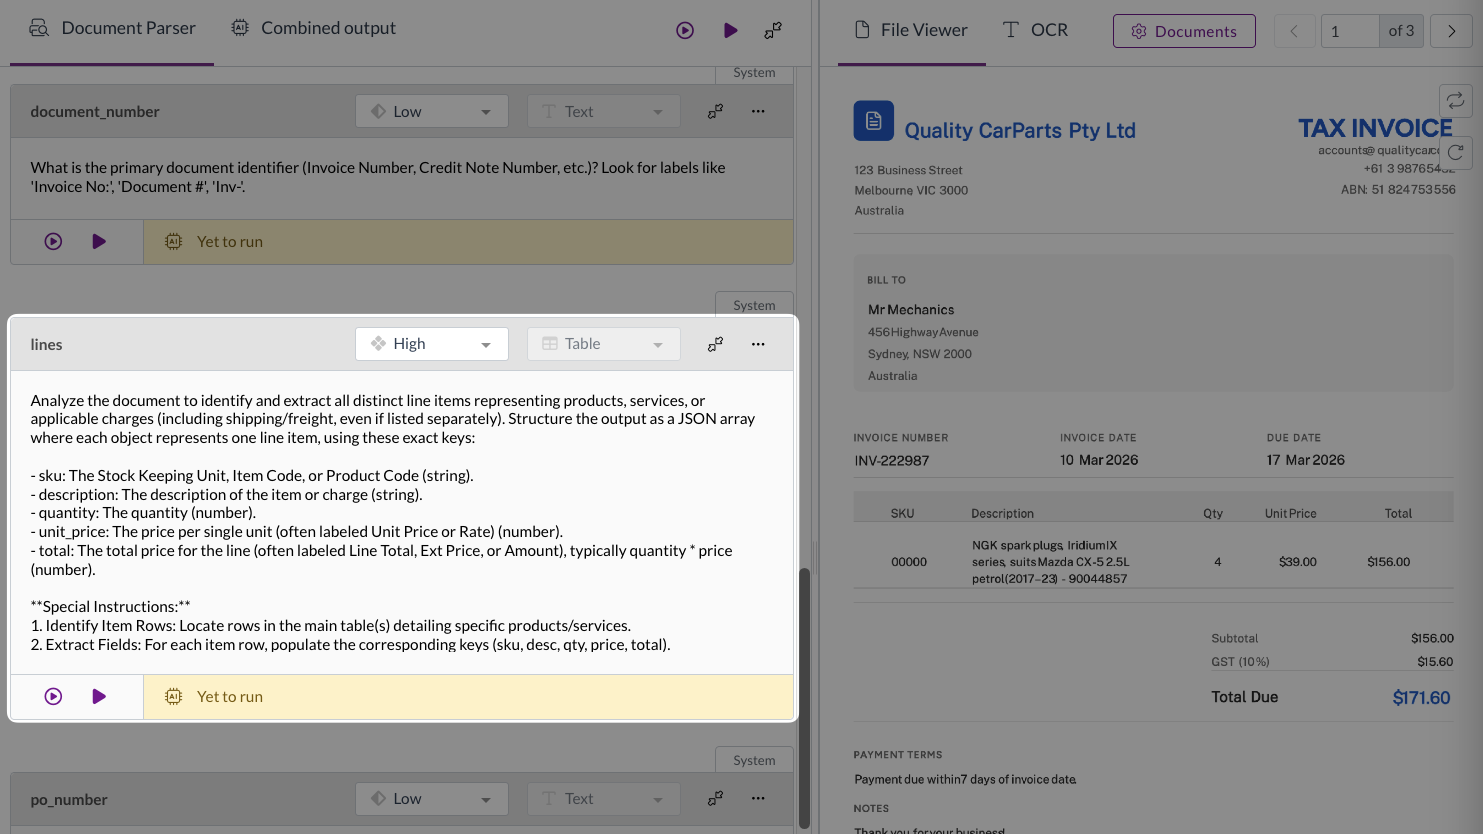
Before making any changes, read the current prompt for each field you're adjusting. This gives you a baseline to work from and helps you understand what Zudello is currently doing.
5. Adjust and test the prompt
Before adjusting the prompt, ensure that you have read Understanding prompts.
Rewrite the prompt to describe what you need. Keep the following in mind:
- Write in clear, conversational English with correct grammar and punctuation.
- Be as explicit as possible, and do not assume that the model can infer things about your prompt.
- Leave the complexity setting as is, only increasing it if you have significantly increased the complexity of the prompt.
- For the line level field, which populates multiple Zudello fields with one prompt, leave other parts of the prompt unchanged.
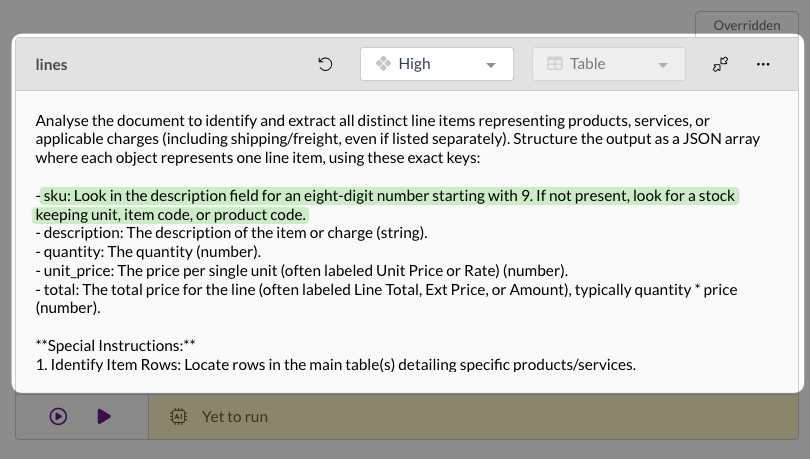
Example: A supplier buries their stock code inside the description field, and you know the stock code is always eight digits and always starts with a 9.
- Good prompt ✅
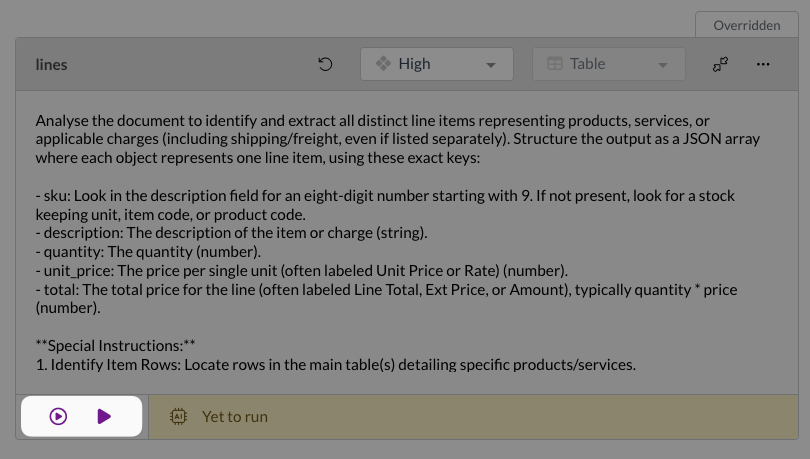
- sku: Look in the description field for an eight-digit number starting with 9. If not present, look for a stock keeping unit, item code, or product code.
- Keeps the structure of the existing sku field prompt. Clear, explicit, and concise.
- sku: Look in the description field for an eight-digit number starting with 9. If not present, look for a stock keeping unit, item code, or product code.
- Bad prompts ❌
- sku: Stock code in descrip, 9-, 8 digit.
- Not a conversational sentence, assumes that the model can interpret "descrip" as "description" and "9-" as "starts with a 9".
- 8 digit number starts with a 9.
- Does not specify the invoice field to inspect, or the Zudello field to map the result to.
- sku: Stock code in descrip, 9-, 8 digit.
- Adjust your prompt following the guidelines above
- After each change, test your new prompt:
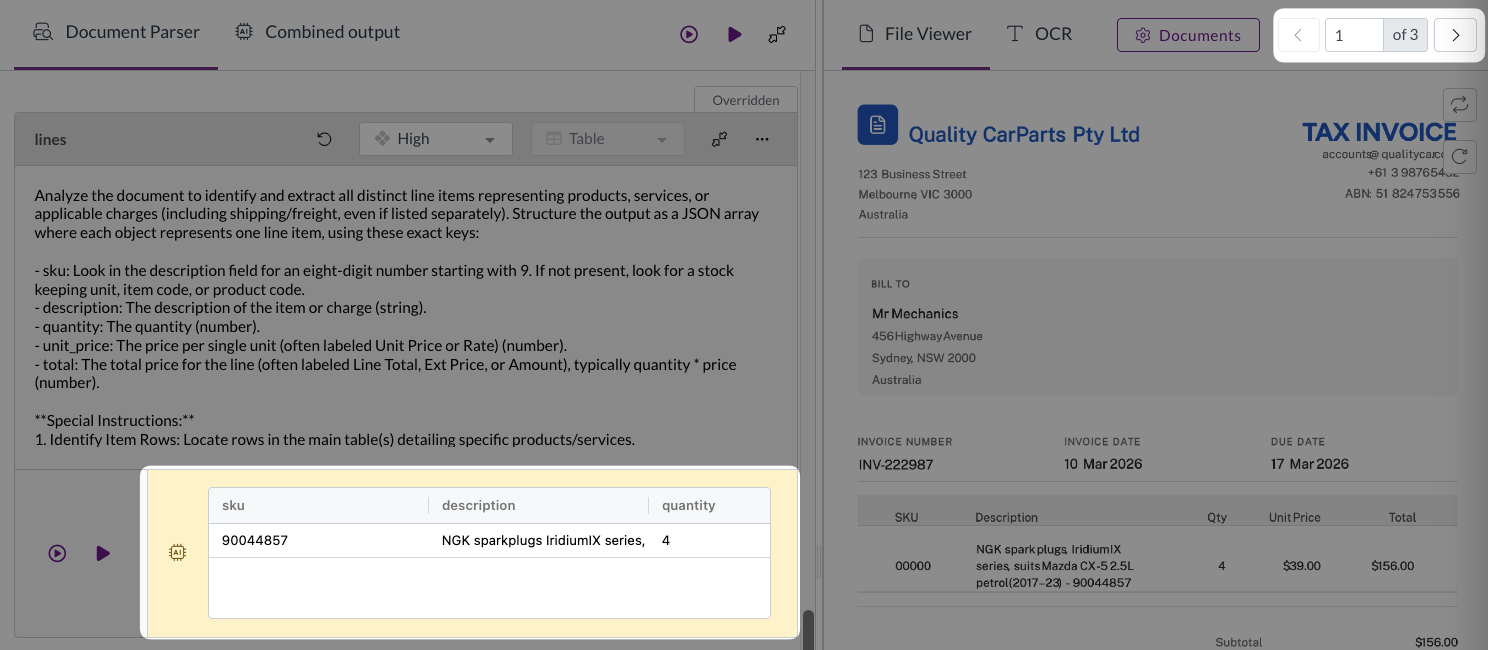
- Click Run for this document to test against the document currently open in the file viewer
- Click Run for all documents to test across all uploaded documents
- Review the output box to confirm the extracted value is correct (use the navigation at the top of the file viewer to see the result for each document)
- If the current prompt is unsuccessful, refine the prompt and test again
If your prompt contains conditional logic, for example an if/else instruction, make sure you test both scenarios.
6. Save and activate the workflow
Once all your prompts are working correctly across all your test documents:
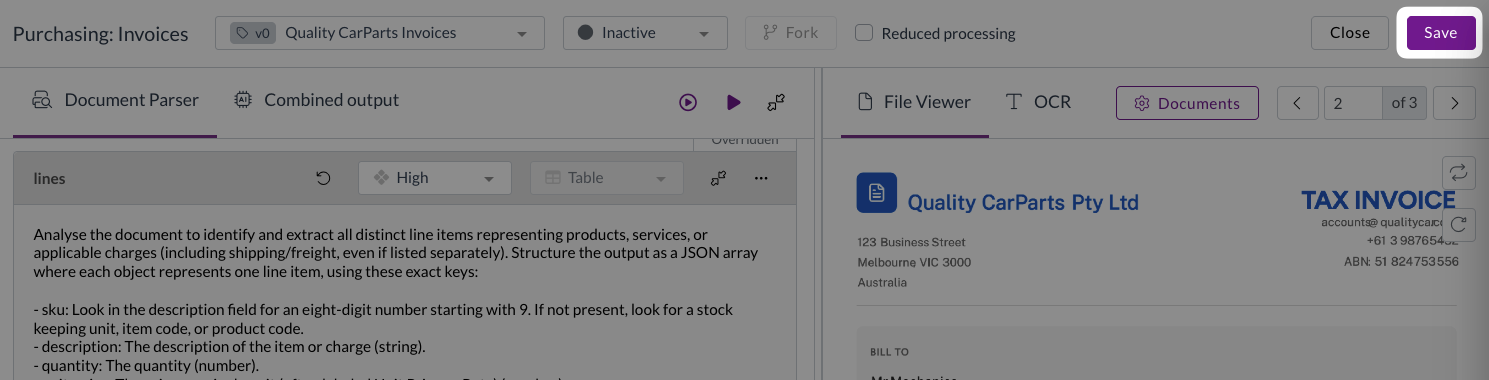
- Click Save
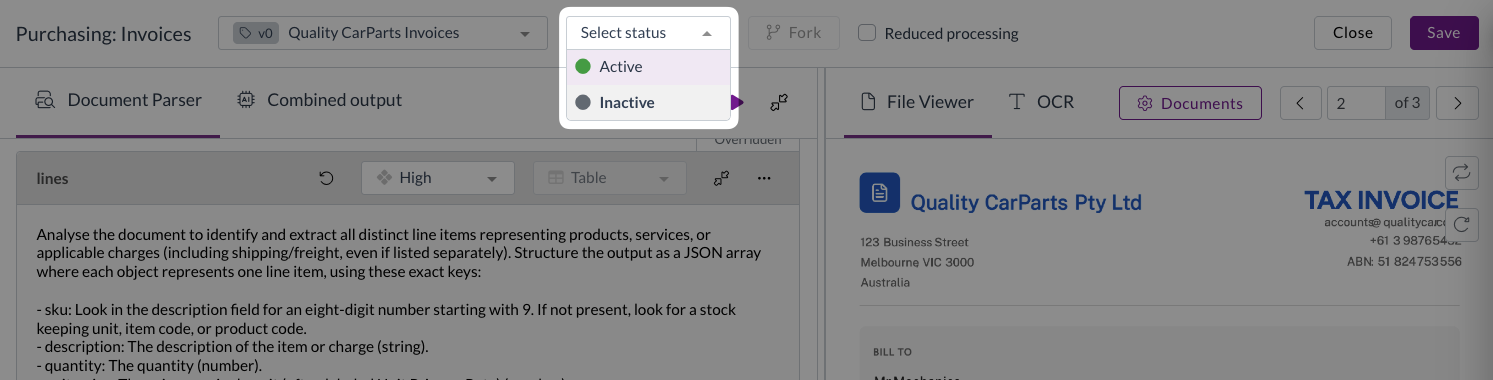
- At the top of the workflow editor, click the status drop-down
- Select Active
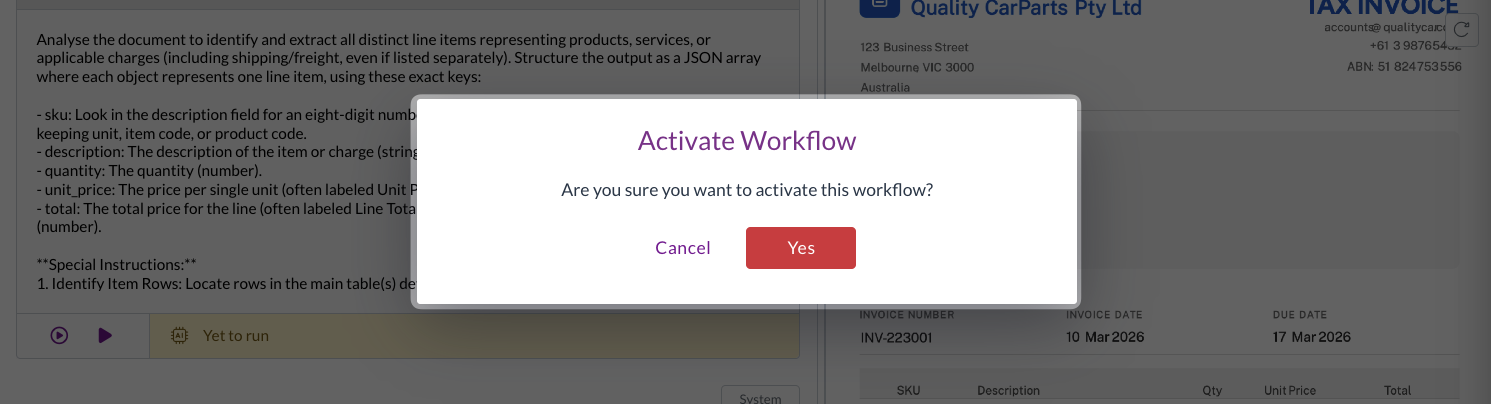
- Click Yes in the confirmation pop-up
Your new workflow is now live! Any documents that satisfy the document selection condition will now be processed by this new workflow rather than the default extraction workflow.
Editing an existing workflow
As explained in Understanding workflows, you can't edit an active workflow directly. To make changes, you need to fork the workflow to create a new version. The original version remains active while you work on and test the new one.
- Click the settings icon next to the workflow you want to fork
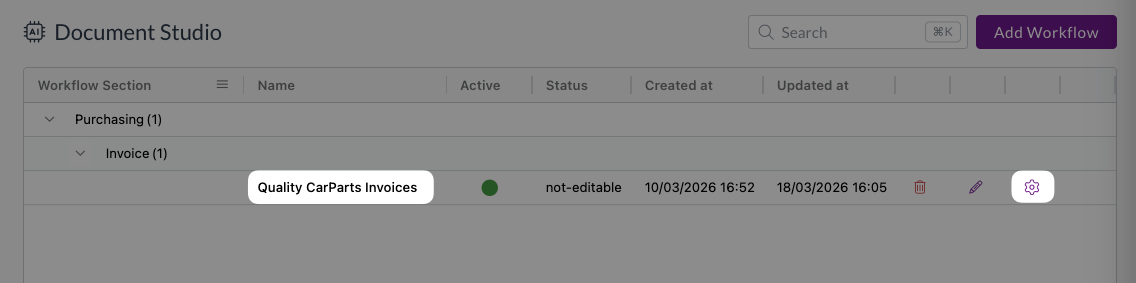
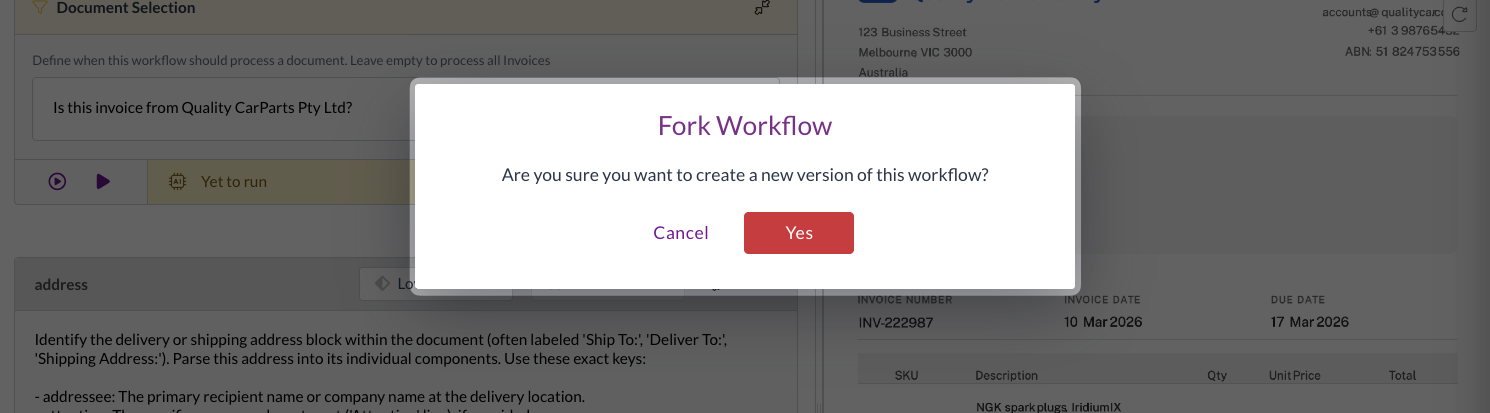
- Click Fork

- Click Yes in the confirmation pop-up
- A new, inactive version of the workflow is created with all the current settings copied across

- Make your changes by following steps 2–6 from Creating a new workflow above
- Once you're satisfied that everything is working correctly, click Save

- Click the status drop-down and select Active

- Click Yes in the confirmation pop-up

The new version of your workflow is now active! Activating the new version automatically deactivates the previous one.
The most recent version of a workflow does not have to be the active version.
If you find that an older version was performing better, you can reactivate it from the workflow version drop-down while you continue refining a newer one.
Need help?
Contact your organisation administrator or Zudello support for assistance with Document Studio.